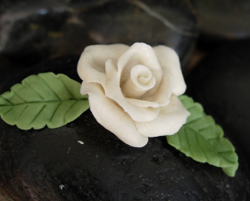
 Looking for floral craft ideas that will hold up even in cold weather? Learn how to make a Bread Dough Rose and impress all of your friends. Use a vintage Aleene's technique by combining Original Tacky Glue, white bread and cold cream to create the dough. You can even use the same technique to create the leaves! Each rose looks like an expensive porcelain piece and can be added to a variety of mediums for a elegant final product. Who knew old white bread could be an ingredient for a pretty floral craft? |
Materials:
- Aleene’s Original Tacky Glue in the Gold Bottle
- White bread (one slice)
- Plastic cup
- Craft stick
- Cold cream
- Measuring spoon – tablespoon
- Acrylic paint – white, green
- Zip top bag
- Flexible plastic (Heidi used shrink plastic) to create veins in leaf
- Toothpick (optional) for holding flower while drying (see video demo)
Instructions:
- Remove crust from one slice of bread.
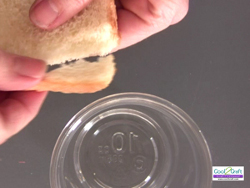
- Shred bread into cup.
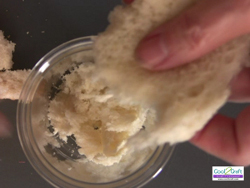
- Add 1 tablespoon of Aleene’s Original Tacky glue. Add one dab of cold cream. Add 10 – 20 drops of white acrylic paint.
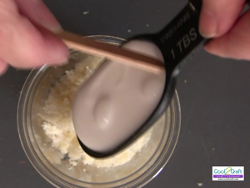
- Mix until bread dough mixture starts to stick together. Use craft stick to remove mixture from cup and begin to knead with hands.
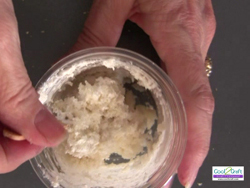
- Continue to knead mixture for several minutes until a smooth ball of clay forms. (The glue and mixture should start to come off your hands as you knead the mixture. If not, add a small dab of cold cream to your hands as you continue to knead ball.) Once mixed, store bread dough in zip top bag. Bread dough should remain fresh in refrigerator for several weeks and can also be frozen. Just thaw to room temp before using.)
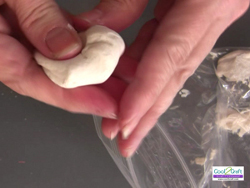
- Remove a pea sized ball from bag. (Since this is air dry clay, you need to keep the remaining dough in the zip top bag.)
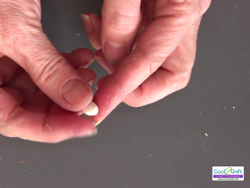
- Press ball between finger and thumb to create a petal shape.
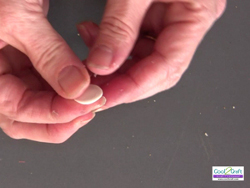
- Continue to press until the petal is very thin.
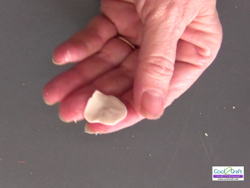
- To create flower center, start to roll from one end.
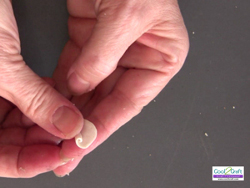
- Use finger to gently pull back edge of petal to give dimension and shape.
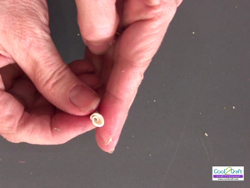
- Remove another pea sized ball from bag and repeat process to create very thin petal. Guide petal around rose center and gently press in place.
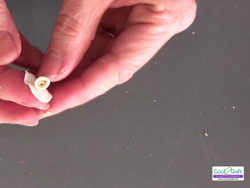
- Use finger to pull down edge of petal and give shape.
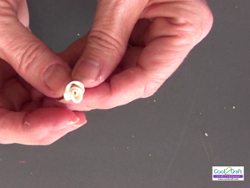
- As you continue to add petals, be sure that each petal is flush with the center of rose. (If you do not watch this, the rose can quickly begin to look like a pine cone!)
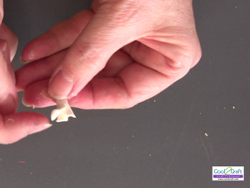
- Add as many petals as desired to create size and shape of rose. Set aside to dry overnight. Cut off back of rose with scissors to create flat back for gluing surface.
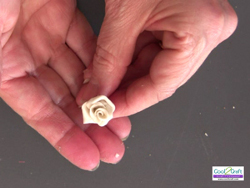
- To create leaves, add green paint to small piece of dough. Mix thoroughly. Form pea sized shape into leaf. Add veins by gently pressing lines with plastic. Add shape to sides of leaves by pressing plastic along the edges where lines meet side. Gently press up sides of leaves to give shape. Set aside to dry.Glue leaves and flower onto desired surface. (On this example, I used a river rock to create a paperweight.)
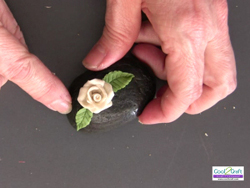
How to Make a Bread Dough Rose Video Tutorial
By: Heidi Borchers